Uniform Branding Guide: How to Get Workwear That Looks Professional (and Works Hard)
Branding your uniform sounds straightforward: add a logo and you’re done. But the best uniform branding is a balance of visibility, durability, comfort, and consistency so your team looks professional and the kit stands up to real work.
This guide is for business owners and senior leaders buying uniforms for their teams.
1) Start with the job, not the logo
Before you choose branding, confirm what the uniform needs to do.
- Is the team customer-facing (front of house, deliveries, site visits)?
- Are they outdoors in bad weather (waterproofs, layers, hi-vis)?
- Is the work messy or high-wear (hard-wearing fabrics, darker colours)?
- Do you need role separation (different colours for supervisors/teams)?
When the garment is right for the job, the branding looks better and lasts longer.
2) Choose the right branding method: embroidery vs print
Both can look premium. The right choice depends on fabric, wear-and-tear, and the look you want.
Embroidery (classic, durable, premium)
Best for:
- Polos, sweatshirts, hoodies, fleeces, softshells
- Customer-facing teams where you want a smart finish
- Logos that need to look consistent over time
Things to consider:
- Very small text can be hard to stitch cleanly
- Some lightweight fabrics can pucker if the logo is too dense
Print (bold, modern, great for larger designs)
Best for:
- T-shirts, performance tops, hi-vis, jackets (depending on fabric)
- Large logos, back prints, and high-visibility messaging
- Multi-colour designs and gradients
Things to consider:
- Print durability depends on the method and garment care
- Some finishes feel heavier on the fabric (we can advise)
Tip: Many teams use both e.g. embroidered chest logo + printed back for maximum visibility.
3) Decide what you want the uniform to achieve
A good uniform brand system is intentional. Pick your priority:
- Recognition: big, clear logo (especially on the back)
- Premium feel: smaller embroidered chest logo
- Trust + clarity: add job role (e.g. Engineer, Supervisor, Front of House)
- Consistency across teams: same placement, same thread/print colours
If you’re buying for multiple departments, build a simple rule set so everything matches.
4) Get logo placement right (the where matters)
Here are the most common placements and what they’re best for.
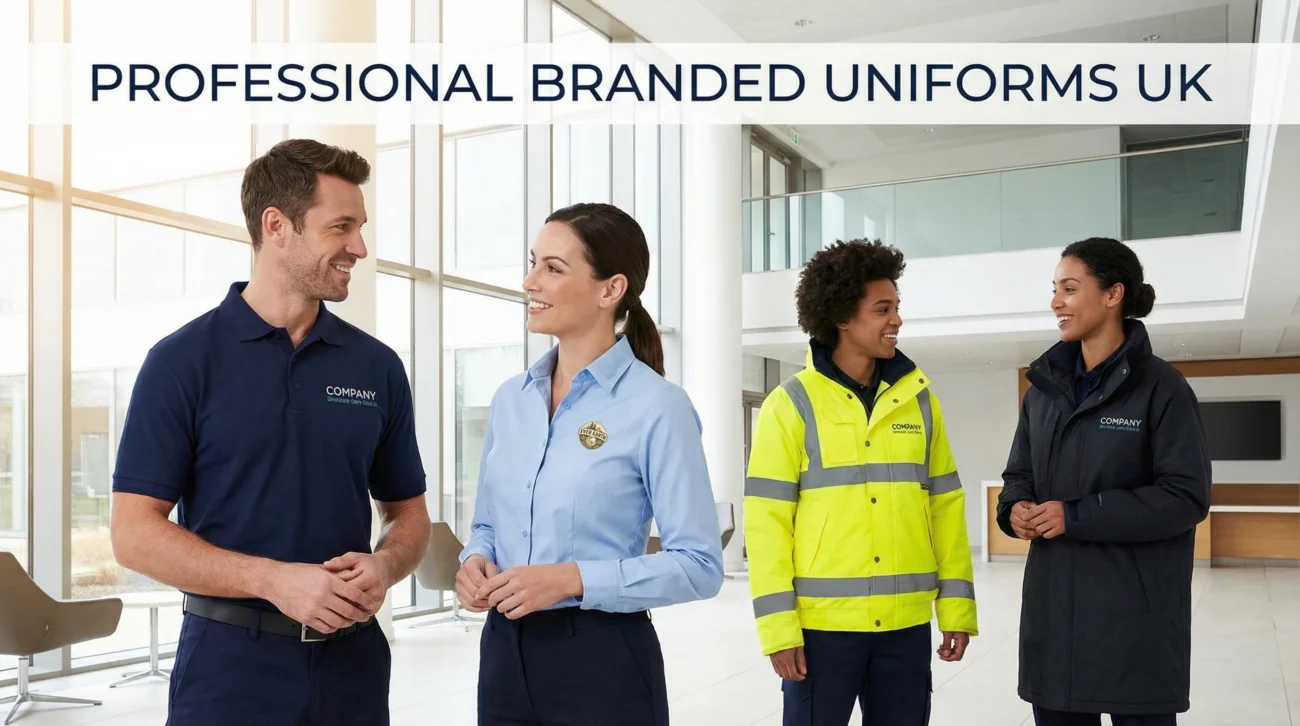
- Left chest: the standard professional look (smart, subtle)
- Right chest: useful if you want a name on the left, logo on the right
- Sleeve: understated branding; great for hospitality and premium trades
- Back (upper): maximum visibility for teams working on-site or in public
- Front centre: bold, casual look (often for events)
Practical note: If staff wear outer layers, consider branding both the base layer and the jacket/softshell so you’re still visible in winter.
5) Keep it readable: size, contrast, and simplicity
Uniform branding should be readable at a glance.
- Choose high-contrast logo colours against the garment
- Avoid tiny straplines (they rarely read from a distance)
- Simplify overly detailed logos for embroidery if needed
- Don’t cram too much onto one garment
If your logo has multiple versions, use the one designed for clothing (often a simplified mark).
6) Think about consistency and reordering (future-proof it)
Most uniform problems show up later: a new starter joins, a garment goes out of stock, or a team expands.
To keep things consistent:
- Pick core colours you can reorder easily
- Choose garments that are regularly available
- Standardise placements and logo sizes
- Keep a uniform spec note: garment style, colour, branding method, placement, and size
This saves time and prevents your team looking mismatched over time.
7) Make it inclusive (so people actually wear it well)
A uniform only works if your team feels comfortable.
- Offer a choice of fits (where possible)
- Consider layering options for different body temperatures
- Make sure sizing is inclusive (we can supply up to 9XL)
- Use try-on samples before committing (especially for larger teams)
When people feel good in the uniform, they represent your brand better.
8) Send the right files (so your branding comes out clean)
Clean artwork makes a huge difference.
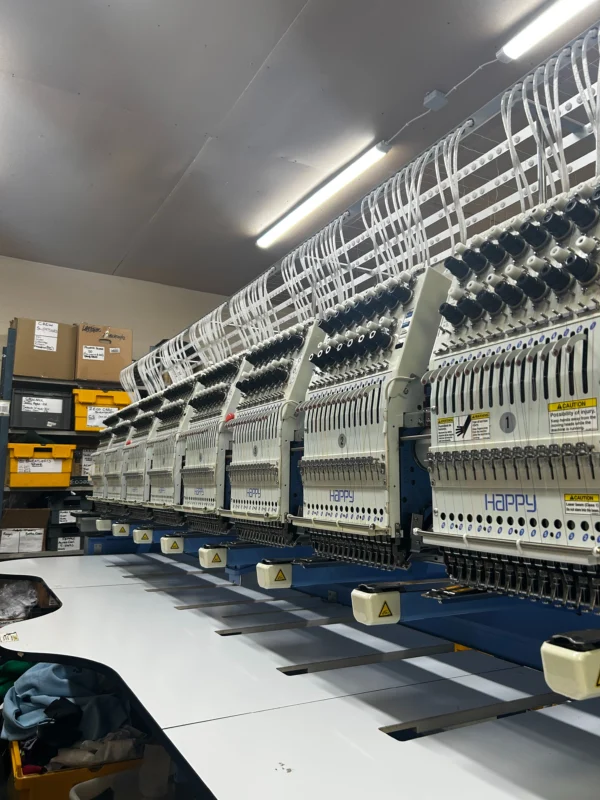
- For embroidery, we typically need a .dst embroidery file
- For print, supply a high-resolution PDF (300 dpi) where possible
If you’re not sure what you have, send what you’ve got well tell you whats usable and what needs adjusting.
9) A simple uniform branding checklist
Before you place an order, confirm:
- What roles are we branding for?
- What garments are fit for purpose (including weather)?
- Embroidery, print, or both?
- Placement(s): chest, sleeve, back?
- Logo colours and contrast?
- A consistent spec for reorders?
- Inclusive sizing and fit options?
- Correct artwork files?
Want help choosing the best setup?
At Universal Uniform, we help you choose garments that fit the job and branding that fits your business with embroidery and print done in-house.
- No minimum order requirements
- Standard turnaround: 14 days
- Sample try-ons available before decoration
What next?
Send us your logo, your team roles, and where the uniform will be worn (indoors/outdoors).
Well recommend the best garments, branding method, and placements to get a professional, consistent result.